

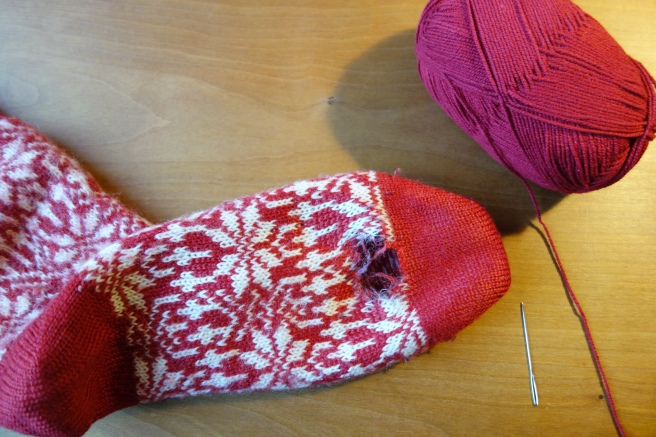
These are the favorite and most-worn wool socks of my girlfriend, and after two winters of heavy wear they have giant holes in the soles. Naturally, this poses not a problem, but a challenge! There are some supplies needed for a project like this one. The socks are machine-knit, which means that the yarn used is very thin – good that I remembered the tiny 2,5 needles that I got as a present once and never used. I am not a sock-knitter so far, and really don’t enjoy knitting with small needles like these, but in the end they come in handy! The next thing you need is a yarn in roughly the same color and weight as the socks, this is more important if the holes are in a more visible place. I could have continued the norwegian-style red and white pattern, but that was too much… I hope the yarn I chose will hold up the heavy wear these socks get, we will see.
The first thing is to turn the socks inside out and assess the state of the fabric: maybe there are smaller holes that are not visible at the first glance? Maybe there are other places that are getting thin? I chose to patch up a generous part of the sole, to avoid having to mend them again after two months.

After the area to be mended is determined, you pick up stitches using a tapestry needle and your first double-pointed needle. If the yarn is the same weight as the socks, you can orient the picked up stitches on the stitches of the original. Next you continue knitting until the damaged area is covered, bind up the stitches and the work is already almost done!

Seam the patch to the sock with the tapestry needle and you’re done! Good as new! I recommend attaching the patch to the sock when the patched area is as big as the one I encountered, so the two layers are not moving against each other too much.

Happy mending!
